
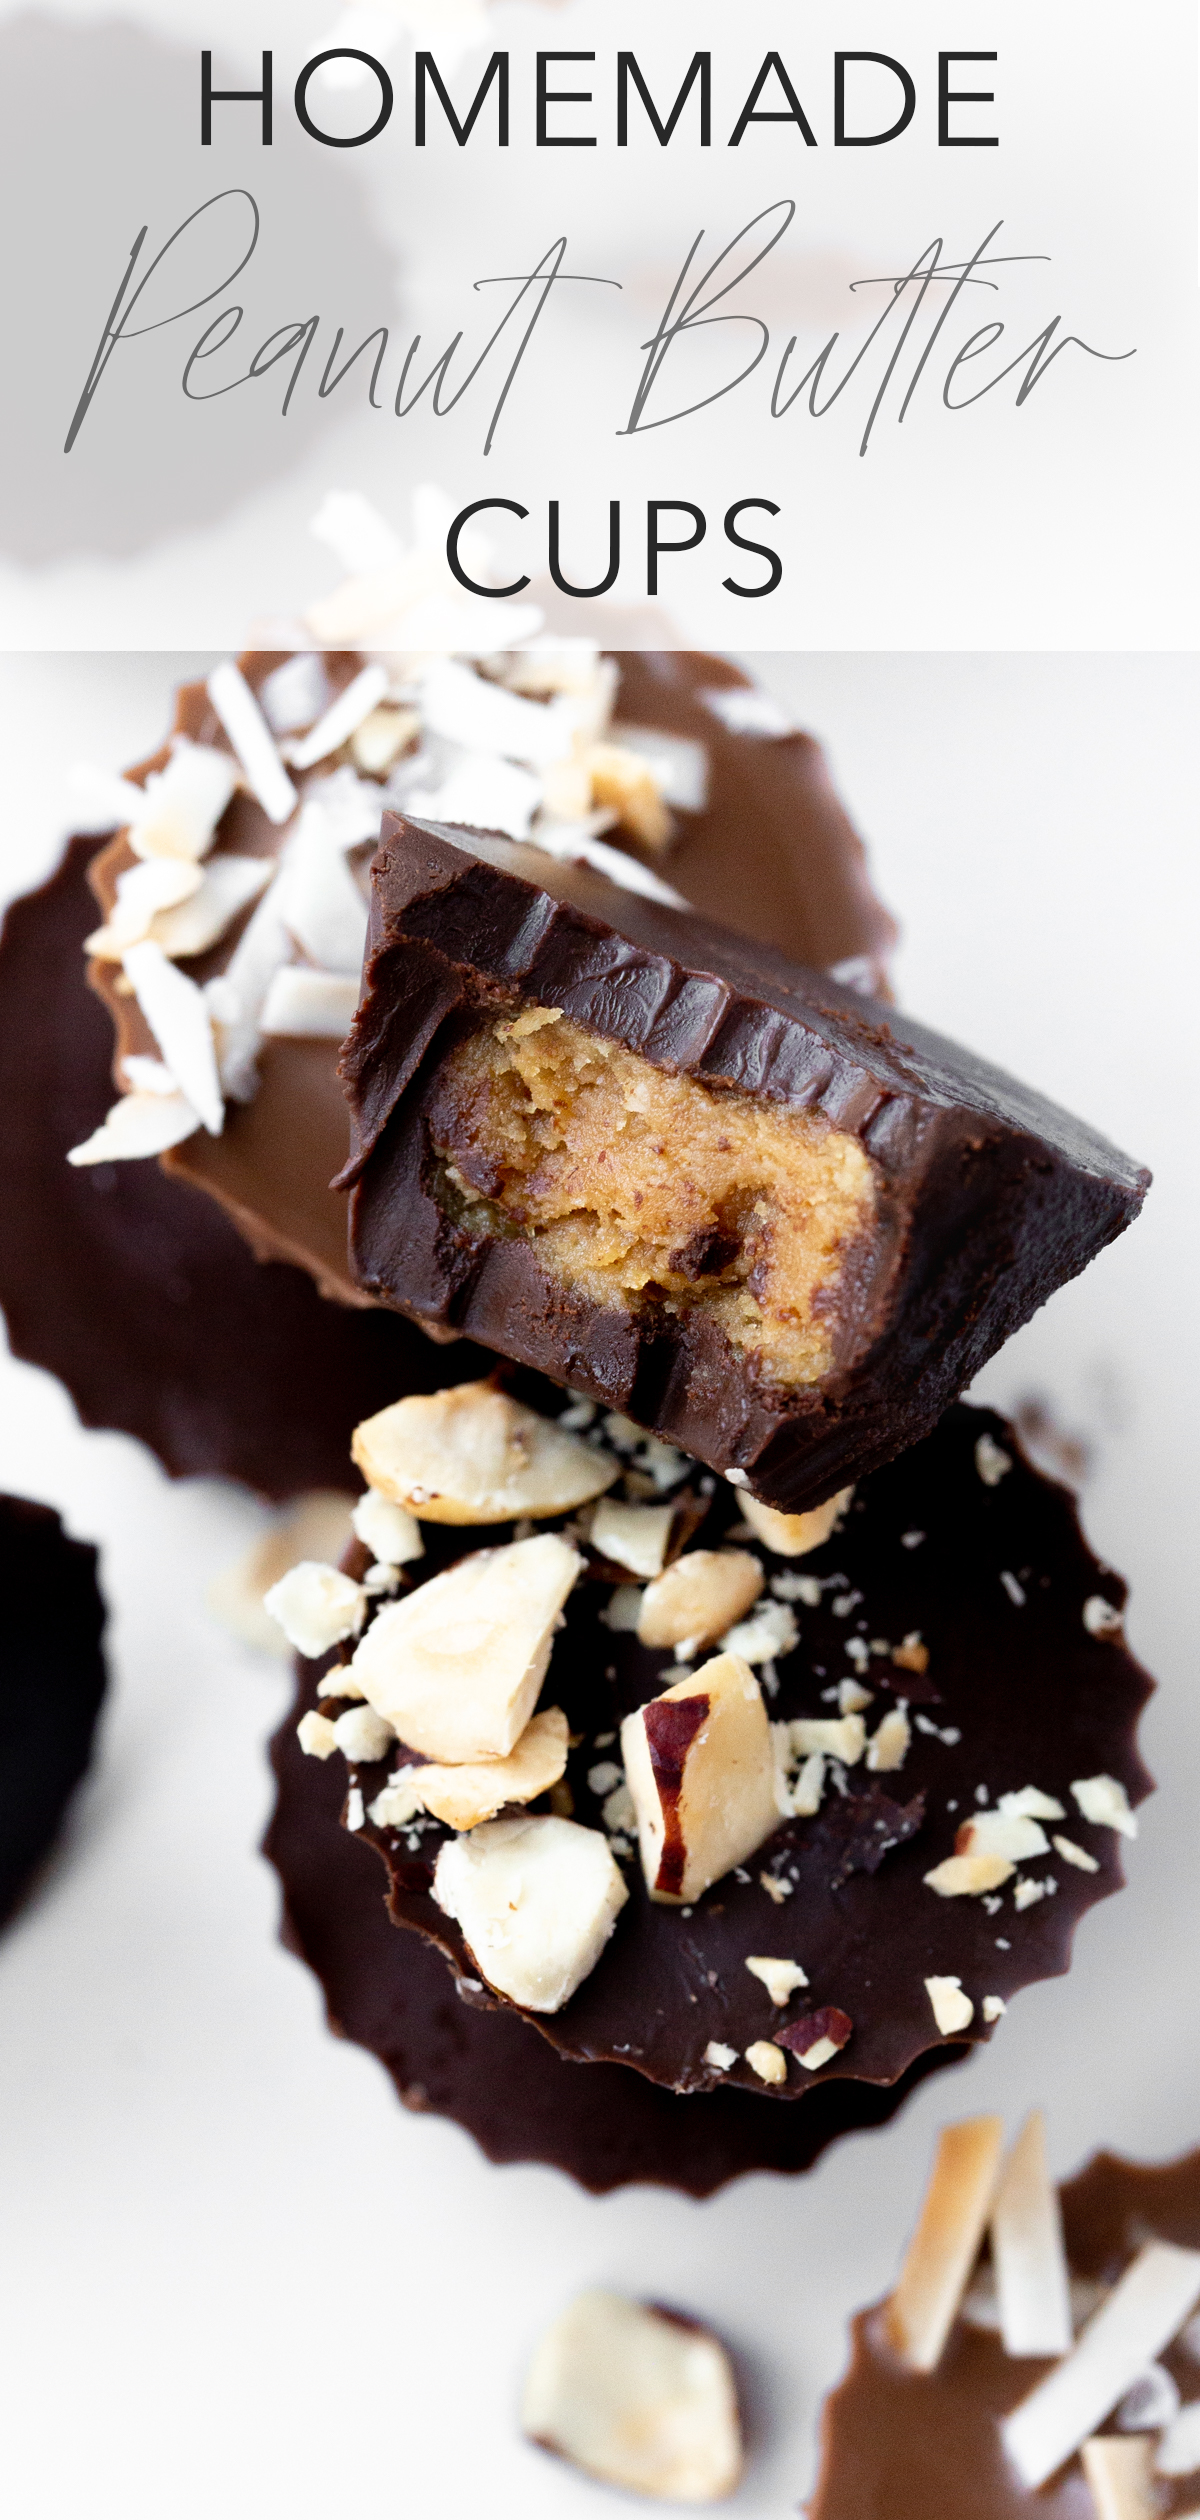
Homemade Mini Peanut Butter Cups
Who doesn’t love homemade Reese’s? This homemade mini peanut butter cup recipe is so easy, so good, and has just 6 simple, real food ingredients.

Growing up, I would have traded my big brother for a bag of Reese’s peanut butter cups. My favorite neighbors were always the ones that had Reese’s in their bowl on Halloween. The folks that gave out the full-size ones — those were my people.
Fast forward to 2020 when the world shut down and everyone hunkered down at home and started making bread. Not me. Nope. With a 2- and a 4-year old I didn’t have that kind of time or energy. But I did have time and energy for these homemade mini peanut butter cups.
One bite and I was done. Like actually done. I’ve not been able to go back to the Reese’s in the orange wrapper since! It’s hard to explain but these are just so much more satisfying —a true experience.
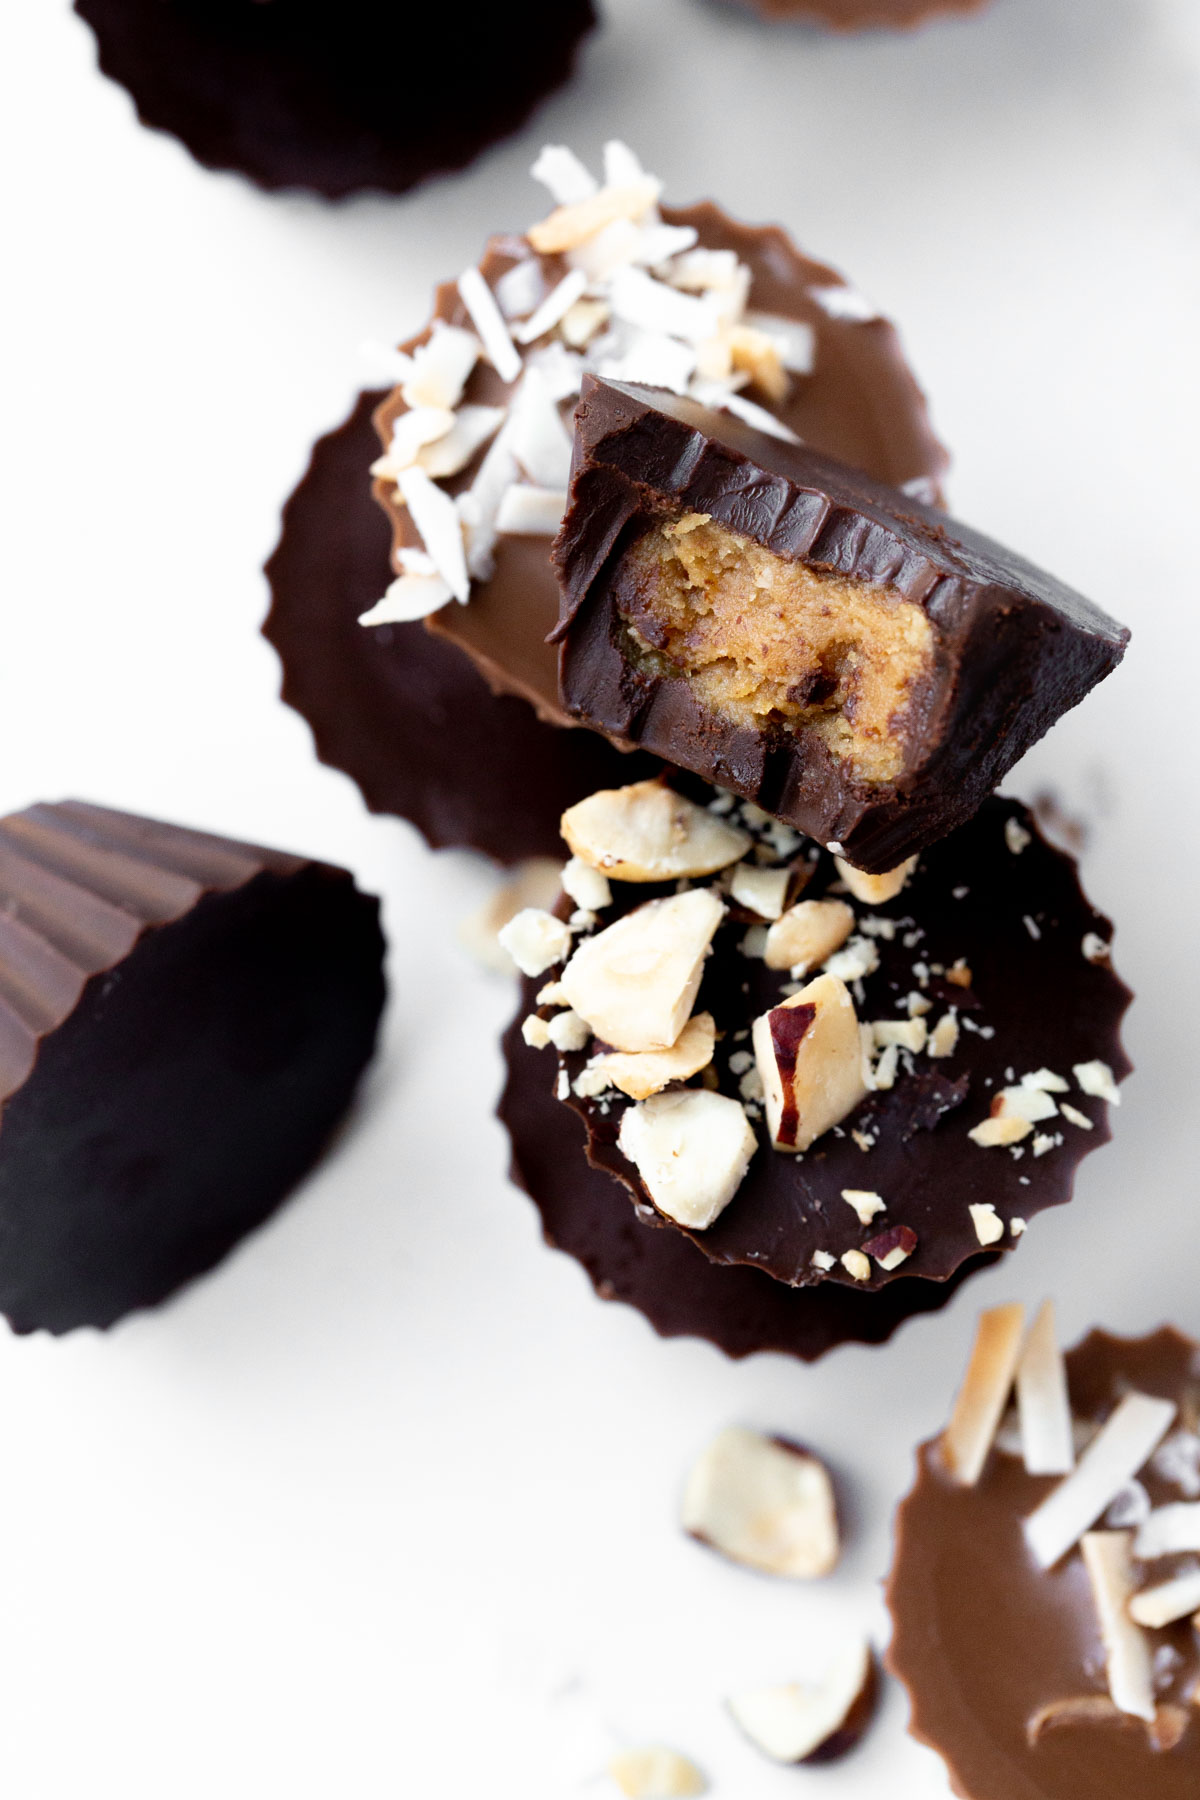
I mean, just look at that soft and sweet peanut butter center bathed in chocolate. Can you blame me?
If you’re a Reese’s lover (or know one and want to be their favorite), you absolutely must add these to your repertoire. Don’t let the fancy toppings fool you. This is actually the easiest mini peanut butter cup recipe to make. No double-boiler or stove required.
All you need are six ingredients and a microwave. 🙌🏻
Ingredients for mini peanut butter cup recipe
These easy, no-bake treats are made with just six real food ingredients making them healthier (and more satisfying) than regular Reese’s. Here’s what you need:
- Dark chocolate and/or milk chocolate
- Coconut oil
- Peanut butter (or the natural nut butter of your choice)
- Almond flour (gives the center great texture, but you can also substitute all-purpose flour here)
- Maple syrup
- Vanilla extract
How to make homemade peanut butter cups
First, grab yourself a peanut butter cup mold. This is the exact one I use and it’s so awesome I’m considering buying a second so I can make them in mass quantities and give them as gifts around the holidays. You could also double up on paper liners but —be warned—they come in a pack of 1,000 and they’re about the same price as the mold.
Once you have your mold or paper liners and all the ingredients, start by melting the chocolate in the microwave.
When melted, spoon about ½ teaspoon of chocolate into each mini cup and pop the mold in the freezer for 5 minutes to harden.
While the chocolate chills, combine your peanut butter, maple syrup, almond flour, and vanilla extract in a bowl and mix until well combined. . Mix to combine. Grab roughly ¾ teaspoon of the peanut butter mixture and form into 30 small balls.
Then, grab the mold from the freezer and put one peanut butter ball into each cup, pressing down if necessary so the peanut butter mixture is below the top of the mold. Top each with more melted chocolate just until it reaches the surface of the mold, about ½ tablespoon each.
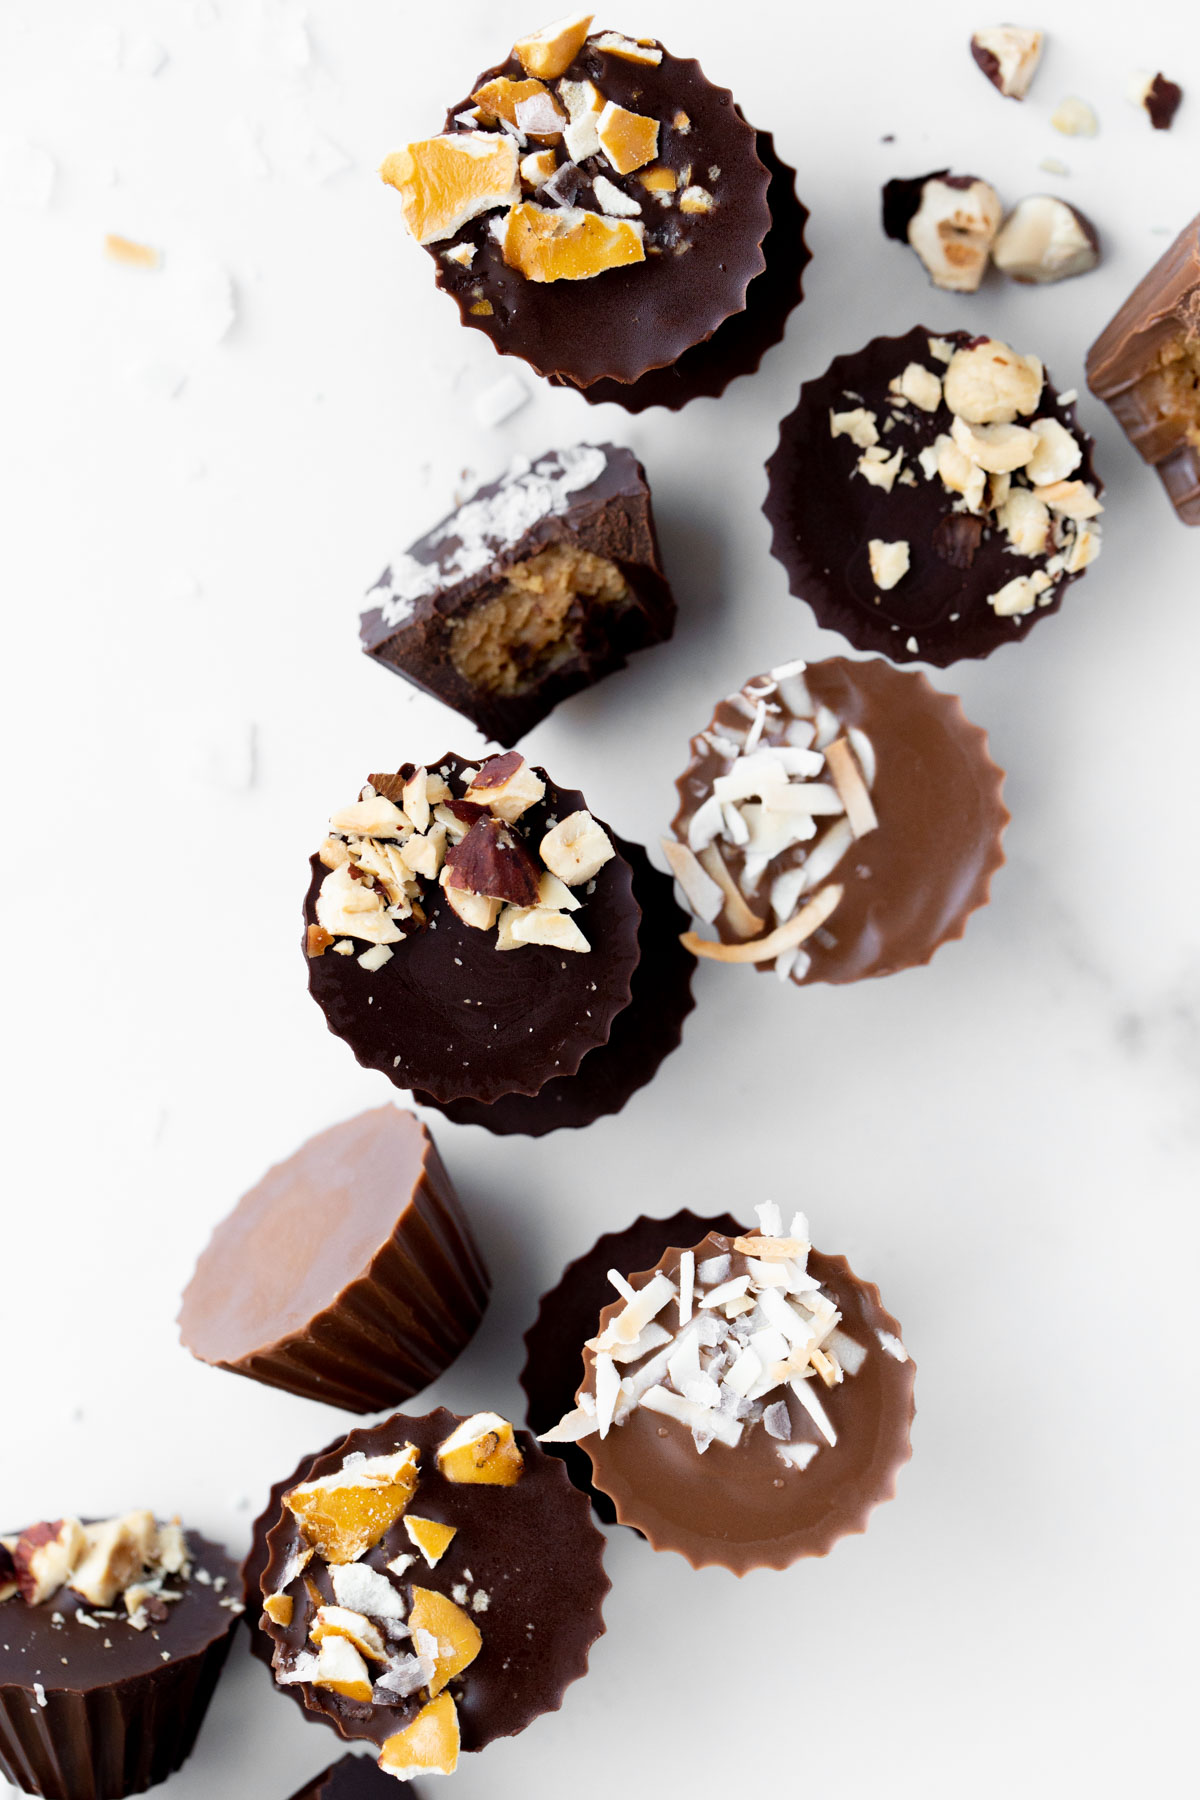
Quickly sprinkle with whatever toppings you like. For flaky sea salt, freeze the cups for a few minutes then sprinkle with salt and return to the freezer — otherwise the salt will dissolve and you won’t see its flaky beauty.
Lastly, pop the pb cups in the freezer until firm (about 15 minutes, 10 if your desperate) and store what you don’t eat immediately in an airtight container in the fridge.
How to store homemade peanut butter cups
To store mini peanut butter cups, transfer them to a food storage container lined with a clean, dry paper towel. Seal the lid and refrigerate for up to 2-3 weeks. I personally love our stand-up Stasher bags for these.
How to freeze homemade peanut butter cups
Homemade peanut butter cups can be frozen in a food storage bag for up to 3 months. To maintain optimal freshness, press out as much air as possible when sealing the bag. Again, Stasher bags work great here, too.
Frequently Asked Questions
This is the exact peanut butter cup mold I use and highly recommend for the perfect mini peanut butter cup size and shape.
I’ve never tested the outcome but, in a pinch, you can use chocolate chips to make homemade peanut butter cups. Chocolate chips are not ideal because they are formulated to hold their shape, even in high heat. Because of this, they can easily overheat as they don’t look melted even when heated.
If you’re using chocolate chips, I recommend using a double boiler which produces a more gentle heat, or microwaving them at 50-70 percent power and stirring every 20 seconds until they are fully melted.
Yes, you can. I love the pillowy texture the almond flour gives the peanut butter center, but if you don’t have any you can absolutely substitute with an equal amount of all-purpose flour, or whatever flour you like.
There are 75 calories and 4 grams of sugar in one of these healthier homemade mini peanut butter cups.
You can substitute almond butter in place of peanut butter in this peanut butter cup recipe. Because almond butter tends to be a bit thicker, consider adding a neutral flavored oil to the almond butter (1-2 teaspoons at a time) until it is the consistency of a drippy, natural peanut butter.
Other delicious treats you might like:
Homemade Mini Peanut Butter Cups
Who doesn’t love homemade Reese’s? This homemade mini peanut butter cup recipe is so easy and so good, and has just 6 simple, real food ingredients.
- Prep Time:
30 - Total Time:
45 - Makes:
30 mini 1x
30
45
30 mini 1x

Ingredients
- 8.75 ounces chocolate bars (dark, milk, or your chocolate of choice; see notes)
- 2 ½ tablespoons coconut oil
- ⅓ cup creamy, natural peanut butter (see notes)
- 1 tablespoon maple syrup
- 3 tablespoons almond flour (or flour of choice; see notes)
- 1 teaspoon vanilla extract
Optional toppings
- Crushed pretzels
- Toasted shredded coconut
- Chopped macadamia nuts
- Flaky sea salt
Instructions
- In a small mixing bowl, combine the peanut butter, maple syrup, almond flour, and vanilla extract. Mix to combine and set aside.
- Break the chocolate into pieces and combine in a bowl with coconut oil. Heat in the microwave, stirring thoroughly every 20 seconds until just melted, about 60-90 seconds total. Do not overheat the chocolate or it will seize. If you have a double boiler you can also use that instead.
- Spoon about ½ teaspoon of chocolate into each mini cup and place in the freezer for at least 5 minutes to harden.
- Meanwhile, form 30 small balls with your peanut butter mixture, measuring about ¾ teaspoon for each. I find it fastest to portion out the peanut butter mixture first, then roll.
- Remove mold from the freezer. Briefly warm the chocolate again if it has started to thicken from cooling. Place one peanut butter ball into each cup, pressing down if necessary so the peanut butter mixture is below the top of the mold. Top each with melted chocolate just until it reaches the surface of the mold, about ½ tablespoon (1 ½ teaspoons) each.
- Quickly sprinkle with toppings, if desired. For flaky sea salt, freeze the cups for a few minutes first, then sprinkle with salt and return to the freezer.
- Freeze until firm, about 10-15 minutes. Store in an airtight container in the fridge for up to 2 weeks, or freezer for up to 3 months.
Notes
Favorite Equipment
- Candy mold: This is the exact peanut butter cup mold I use and highly recommend for the perfect mini peanut butter cup size and shape.
Ingredient Notes
- Chocolate: You can use bars of dark or milk chocolate, or a mix of both. (If you shop at Trader Joe’s, 5 mini bars (sold in 3-packs) is the perfect amount. I do not recommend using chocolate chips and have not tested them in this recipe. Read the FAQ section for more details on why chocolate chips aren’t ideal, and warming tips if that is all you have.
- Peanut butter: I use a creamy natural peanut butter with a drippy consistency, even when well stirred. If your peanut butter is thicker, use less flour. See the FAQ section above for instructions on how to substitute with almond butter.
- Almond flour: I love the pillowy texture the almond flour gives the peanut butter center, but if you don’t have any you can substitute with an equal amount of all-purpose flour, coconut flour, or whatever flour you like.
Nutrition Notes
Nutrition information calculated for 1 mini peanut butter cup (using approximately 2 ½ teaspoons chocolate and ¾ teaspoon peanut butter mixture.
Nutrition
- Serving Size: 1 mini cup
- Calories: 75
- Sugar: 4 g
- Sodium: 7 mg
- Fat: 6 g
- Saturated Fat: 3 g
- Unsaturated Fat: 3 g
- Trans Fat: 0 g
- Carbohydrates: 6 g
- Fiber: 1 g
- Protein: 1 g
- Cholesterol: 0 mg
Did you make this recipe?
We wanna see!
Tag @modminimalism on Instagram and hashtag it #modernminimalism
If you make this mini peanut butter cup recipe, please leave a comment and give this recipe a rating! Ratings and comments help others discover this recipe. Plus, I love hearing from you!
Oh and don’t forget to snap a photo and tag me on Instagram so I can share!
Pin this recipe


These came out amazing. The only tip I would use is after mixing the peanut butter combo together I placed it into the fridge for a few minutes and I was able to form into balls much easier. It was too loose when I first combined it.
I just made these and they’re legit the best I’ve ever had. I topped mine with a drizzle of caramel — oh my! Will definitely make again.